Alexd wrote:Moved any further along since last picture keef? i like watching these builds of yours
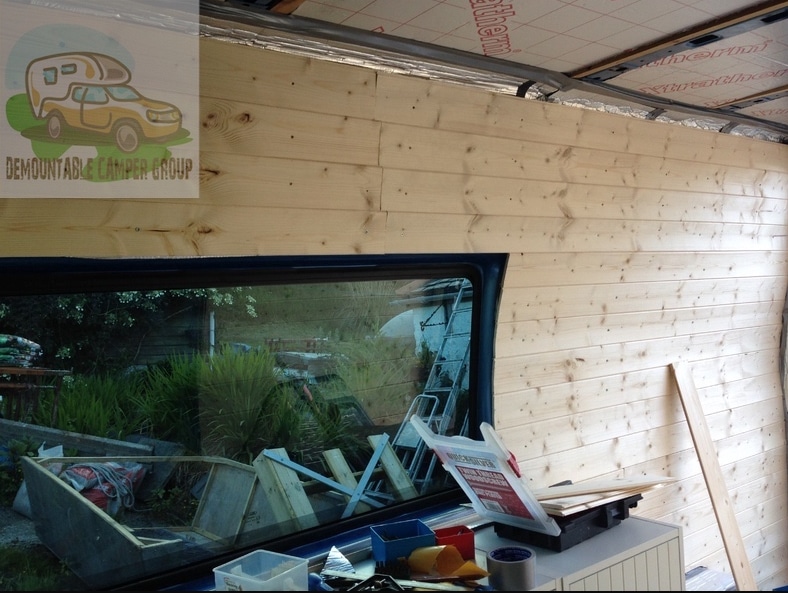
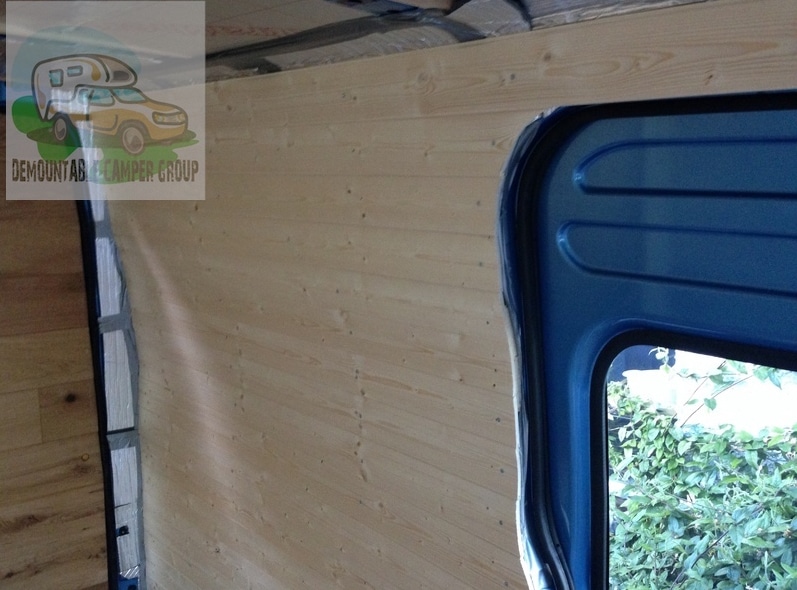
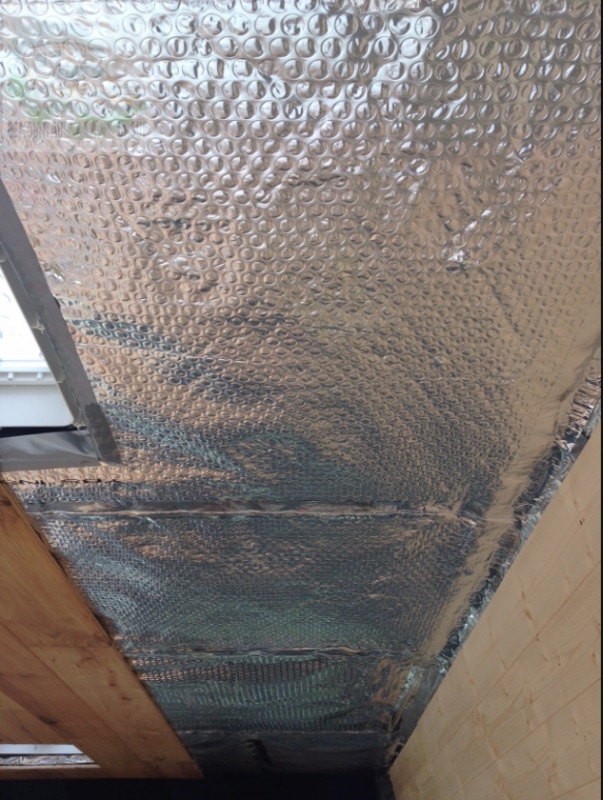
Ceiling is in, still to frame the ninja skylights. They're smoked plexi and while I was fitting them I sprayed the outside frames with dark grey stone chip. So you don't really notice them from outside at all. This contributes to our stealthy credentials.
I have pictures waiting for Zildjian to upload
I've been flexing my debit card muscles. I've got a 110AH deep cycle battery and have moved up to 21st century tech with the charging. I bought a Sterling battery to battery charging unit. This will charge the leisure battery more quickly than a split charge relay and go to float at the correct voltage.
I've marked out the floor with masking tape and there's room for everything, just.
This time we're going for a different toilet technology. Google Popaloo and you'll see what we've gone for.
More info soon.
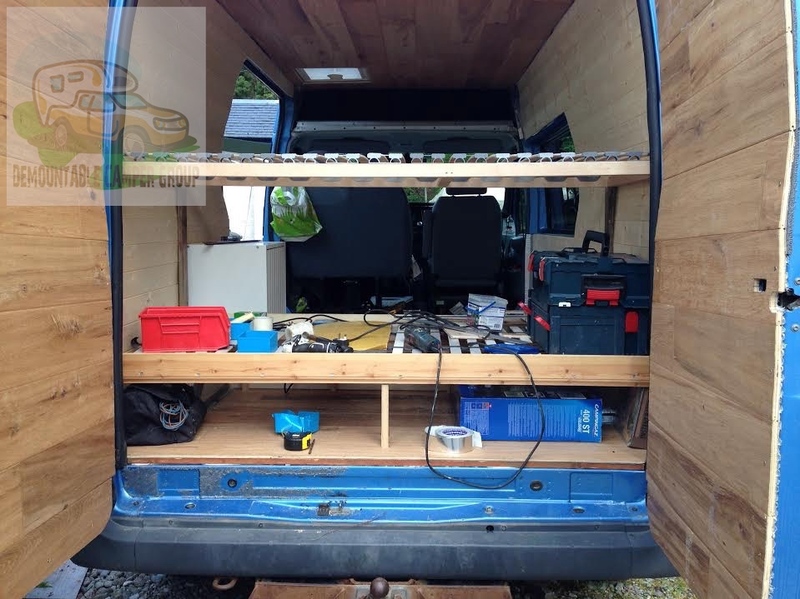
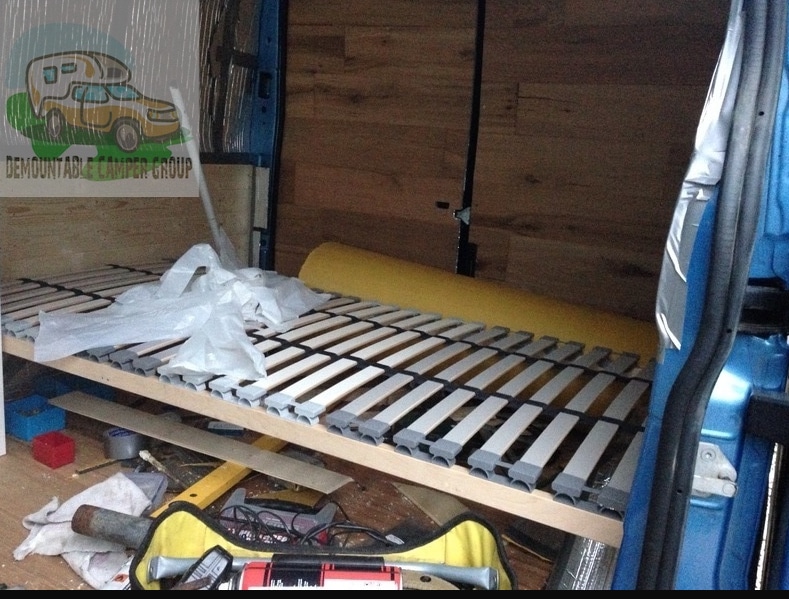
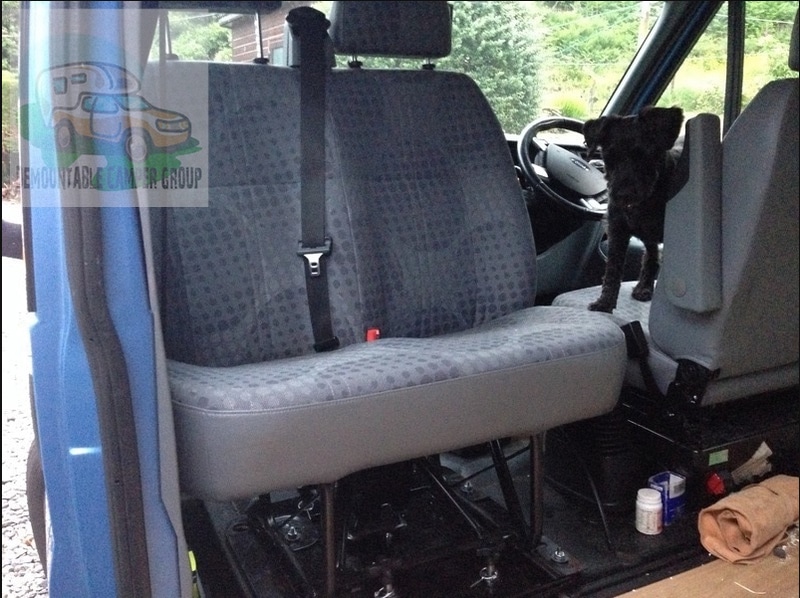
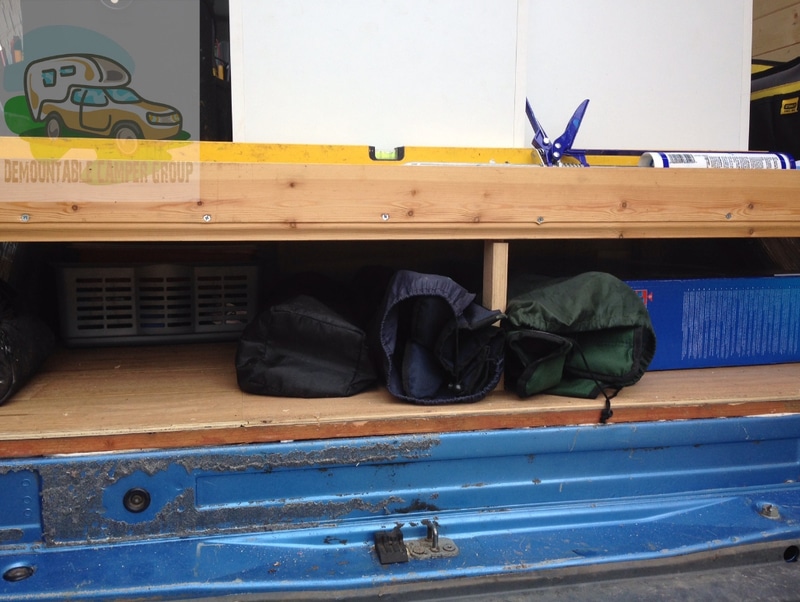
Big day today. The upper bunk bed is slotted into its final position. This is just a trial fit and for approval from Kathy. She needs to be able to sit up to watch the telly. I think we've made the best use of the space. Still have to cut down the mattresses from 2m to about 1.8m. That will be 50mm too long which should give some compression and guarantee that the pillows can't slip down at the end of the bed. I'll need to put my seamstress hat on for stitching the mattress case back up once I've cut some length off the foam. LOL

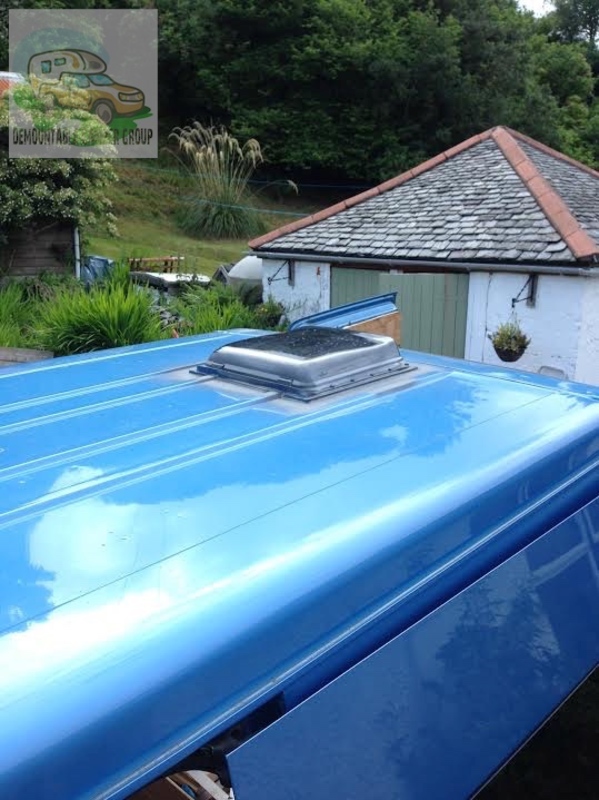
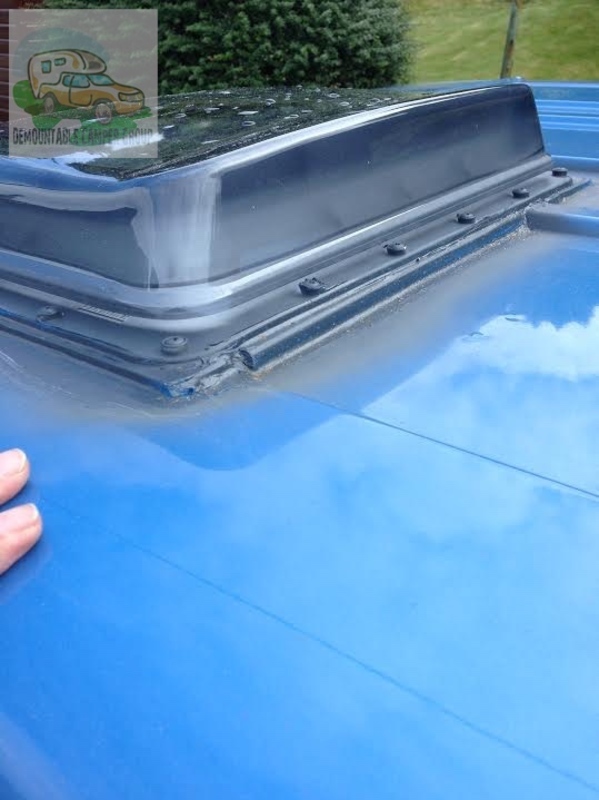
Two or three pictures of the skylights. I painted all the cut edges with a couple of coats of grey stone chip. Then I had to build up a frame from building plastics to allow for the pleats/ripples in the roof. Ford have made every ripple a different height so a bit of head scratching was required. The upper frames take 20 self tappers and I could only get galvanised because my yacht chandlery was closed. Stainless would have been my choice.
I got some blue ct1 mastic on clearance at a fiver a tube and that went between all the layers and smoothed a fillet around each edge. Because I had galvanised screws I decided to paint the whole outer frame and screws with the stone chip too. This has the serendipitous effect of improving the ninja look as there's no white showing, screaming campervan.
I like the effect so much, I'm going to do the tv aerial with the same finish. Vision appears in my minds eye of us stealthy camping at the end of a quiet street and the word going round the neighbourhood that the detector van is in the street trying to look inconspicuous. Lol
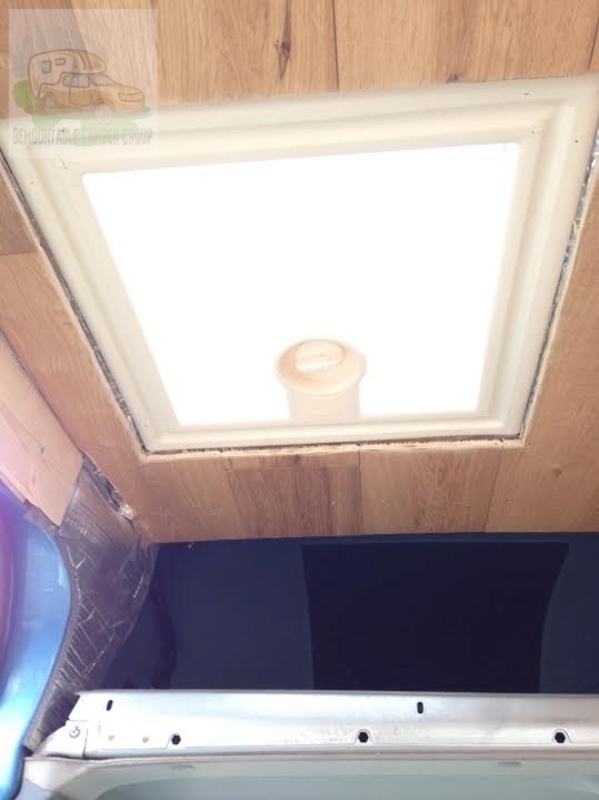
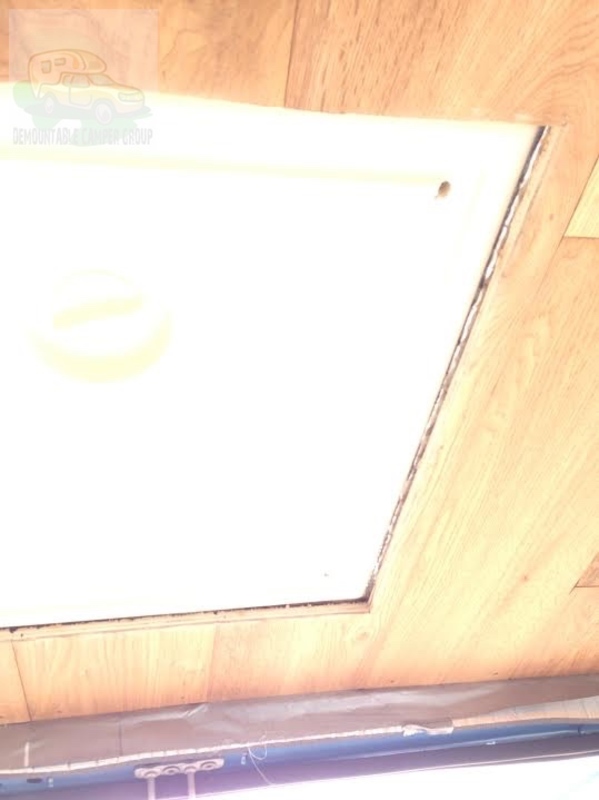
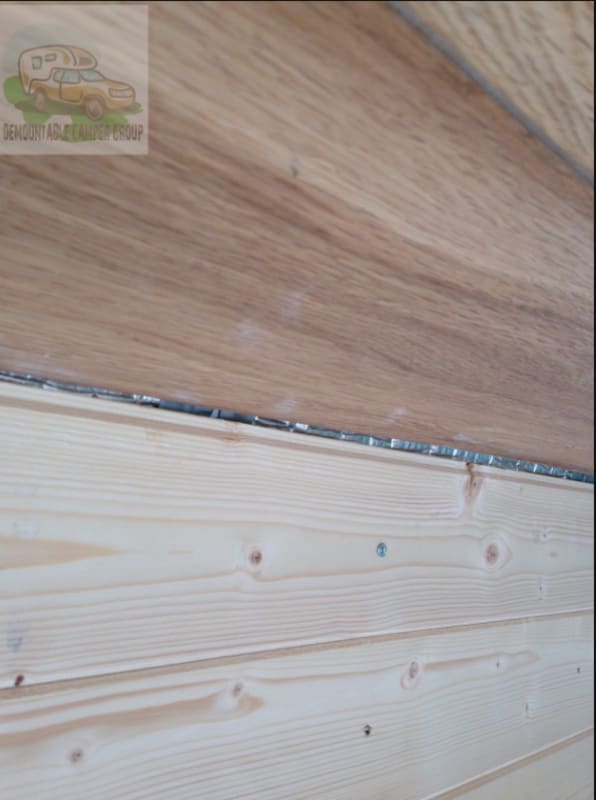
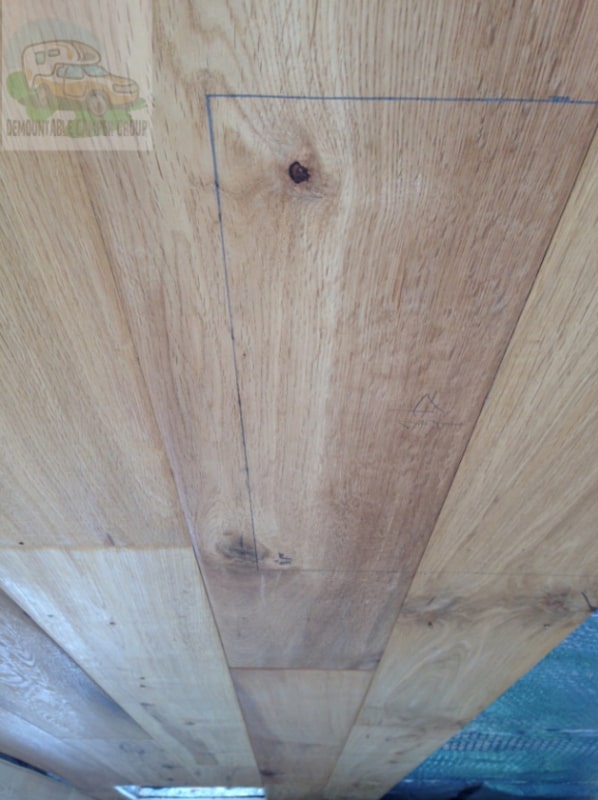
It turned out that the fiamma skylights won't quite bridge the combined thickness of the outer plinth, the insulation, vapour barrier and ceiling so I had to get creative. I rough fitted them with long screws to get the position right, drew round them with a pencil and then cut a clearance hole in the ceiling so the lower frame would inset into the ceiling. I'll need to get a couple of lengths of 21mm right angle moulding to make a frame and conceal the cut edges. That's plan B, I guess.